
The Closing option helps you configure the closing information in iMaxPropertyCRM.

On the Closings tab, you can:
- Create/Edit Closings
- Search Closings
- Import Closing Data
- Create/Edit Templates
Create/Edit Closings
To add a closing,
1. On the Closings tab, click on New Closing.The New Closing page is displayed.

2. Enter the following details:
| Option | Description |
| Closing Information | Enter the closing information such as Representation, status, listing, offer id, etc.For closing parties, if the information is not available, you can create one.Ensure that you select the Assigned to information. |
| Property Address | Enter the property address details. |
3. Click Save.
If you want to create another closing, click Save & New.
The new closing will be added and listed under the Closings tab.
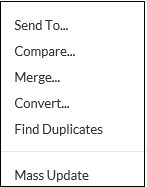
After the offer is added, you can Edit, or Delete the offer details. Apart from these, you can use the following options:
Search Closings
To search for showings,
1. On the Closings tab, click on the Search option.The Search page is displayed.

2. Enter the keywords as the search criteria. Additionally, you can use the search filters.
3. Click Search.
The search result page is displayed with the list of details matching the search criteria.
Import Closings Data
The Import option helps you import client request details from Excel or CSV files into iMaxPropertyCRM.
To import contacts,
1. On the Closings tab, click on the Import option.
The Import page is displayed.
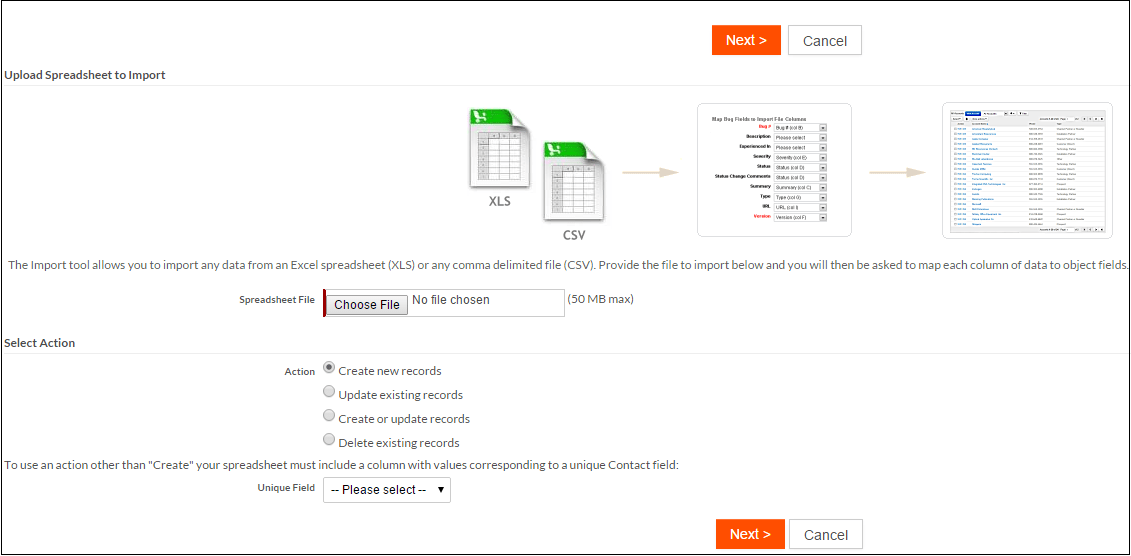
2. Click on Choose File.
Note: Ensure that the xls file selected is correct and does not have additional rows or columns.
3. Browse through the location where the file is stored.
4. Click Open/OK.
The file will be added.
5. Select the action type. For example: Create new records.
6. Select the unique field from the drop-down menu.
7. Click Next.
The contacts will be imported.
Create/Edit Templates
The Templates option helps you create various templates for your contacts.
To create a template,
1. On the Closings page, click on the Templates option.
The Templates page is displayed.

Here you can create the various templates.
2. Select the template you want to create.
3. Enter the following details based on the template type selected.
| Option | Description |
| New Mail Template |  Enter the mandatory details such as Template Name and Subject.In the editor, you can write the email content that will be used for emails.Click Save.The email template will be added. Enter the mandatory details such as Template Name and Subject.In the editor, you can write the email content that will be used for emails.Click Save.The email template will be added. |
| New Document Template |  You can upload a document that contains the template which can be used on iMaxPropertyCRM.Enter the mandatory details such as Template Name and Choose the File to be uploaded.Click Save.The document template will be added. You can upload a document that contains the template which can be used on iMaxPropertyCRM.Enter the mandatory details such as Template Name and Choose the File to be uploaded.Click Save.The document template will be added. |
| New Record Template |  Enter the Template Name and select the record/contact details to clone the template.Click Save.The record template will be added. Enter the Template Name and select the record/contact details to clone the template.Click Save.The record template will be added. |
After creating the templates, the list will be displayed under Templates section.

The templates can be Edited, Cloned, or Deleted at anytime.